7.8 KiB
| title | description | tags | |||
|---|---|---|---|---|---|
| Retro Gaming on an Old Laptop | How to convert an old laptop into a retro gaming station. |
|
Throughout the years I have amassed a collection of laptops. Most of which are unused and collecting dust in storage. If you're reading this, chances are you're in the same situation. Like me, you're also trying to find some new purpose for that old, yet functional, piece of electronic heap. The answer: RetroPie. In this guide, I will show you how to turn an old laptop into a retro gaming station with RetroPie.
The RetroPie Setup Instructions for Debian forms the foundation for this guide. You may refer to that documentation as a supplement.
If you get stuck, the best place to get help is by visiting the RetroPie forum. {.info}
What is RetroPie?
RetroPie allows you to turn a computer into a retro gaming station. It is mainly targeted for the Raspberry Pi series of single-board computers; hence its name. Don't let that fool you, though. RetroPie can be used just as well to convert a PC or laptop into a retro gaming station.
Prerequisites
-
Laptop with Debian 12.2 installed. Any Debian-based distribution such as Ubuntu and Linux Mint should also work.
If you have multiple laptops to choose from, then I suggest selecting the fastest one available. The laptop's performance determines the types of emulators its able to run. On slow laptops, you will experience low framerates when running more demanding emulators such as PCSX2 and Dolphin.
-
Familiarity with Linux and its command line interface.
-
Internet connection.
-
A gaming controller. You can connect more after the installation.
I have tried using an 8BitDo Pro 2 and an Xbox 360 controller. RetroPie has great support for both of them.
-
ROMs
I will not be going over how and where to obtain ROMs in this guide. For simplicity, I will be using a Gameboy Advance ROM in the examples.
RetroPie Setup
Setup Debian
Update the system and packages:
sudo apt update && sudo apt upgrade
Install RetroPie dependencies:
sudo apt install git dialog unzip xmlstarlet
Install RetroPie
Download the latest RetroPie script:
git clone --depth=1 https://github.com/RetroPie/RetroPie-Setup.git
Enter the RetroPie directory:
cd RetroPie-Setup
Execute the script:
sudo ./retropie_setup.sh
The main menu should appear on the screen like the one below:
Select Basic Install and press Enter. On the next screen, select Yes to start the installation process.
The installation process compiles most of the emulators from source. This can take an hour or more on a slow laptop. {.info}
You will be taken back to the main menu once the installation is complete. After the installation process has finished, exit the main menu and proceed to installing ROMs.
Install ROMs
Before running RetroPie, we should install some ROMs. ROMs are located in ~/RetroPie/roms. It contains subdirectories for each supported system (GBA, Playstation, etc.).
For example, to install Gameboy Advance ROMs, place any ROM file in ~/RetroPie/roms/gba:
cp pokemon-emerald.zip ~/RetroPie/roms/gba/
The default Gameboy Advance emulator, lr-mgba, accepts ROM files in the following formats:
.7z,.gbaand.zip. Refer to the documentation for a complete list. {.info}
RetroPie First Startup
Start RetroPie
Select RetroPie on the app dashboard to launch it.
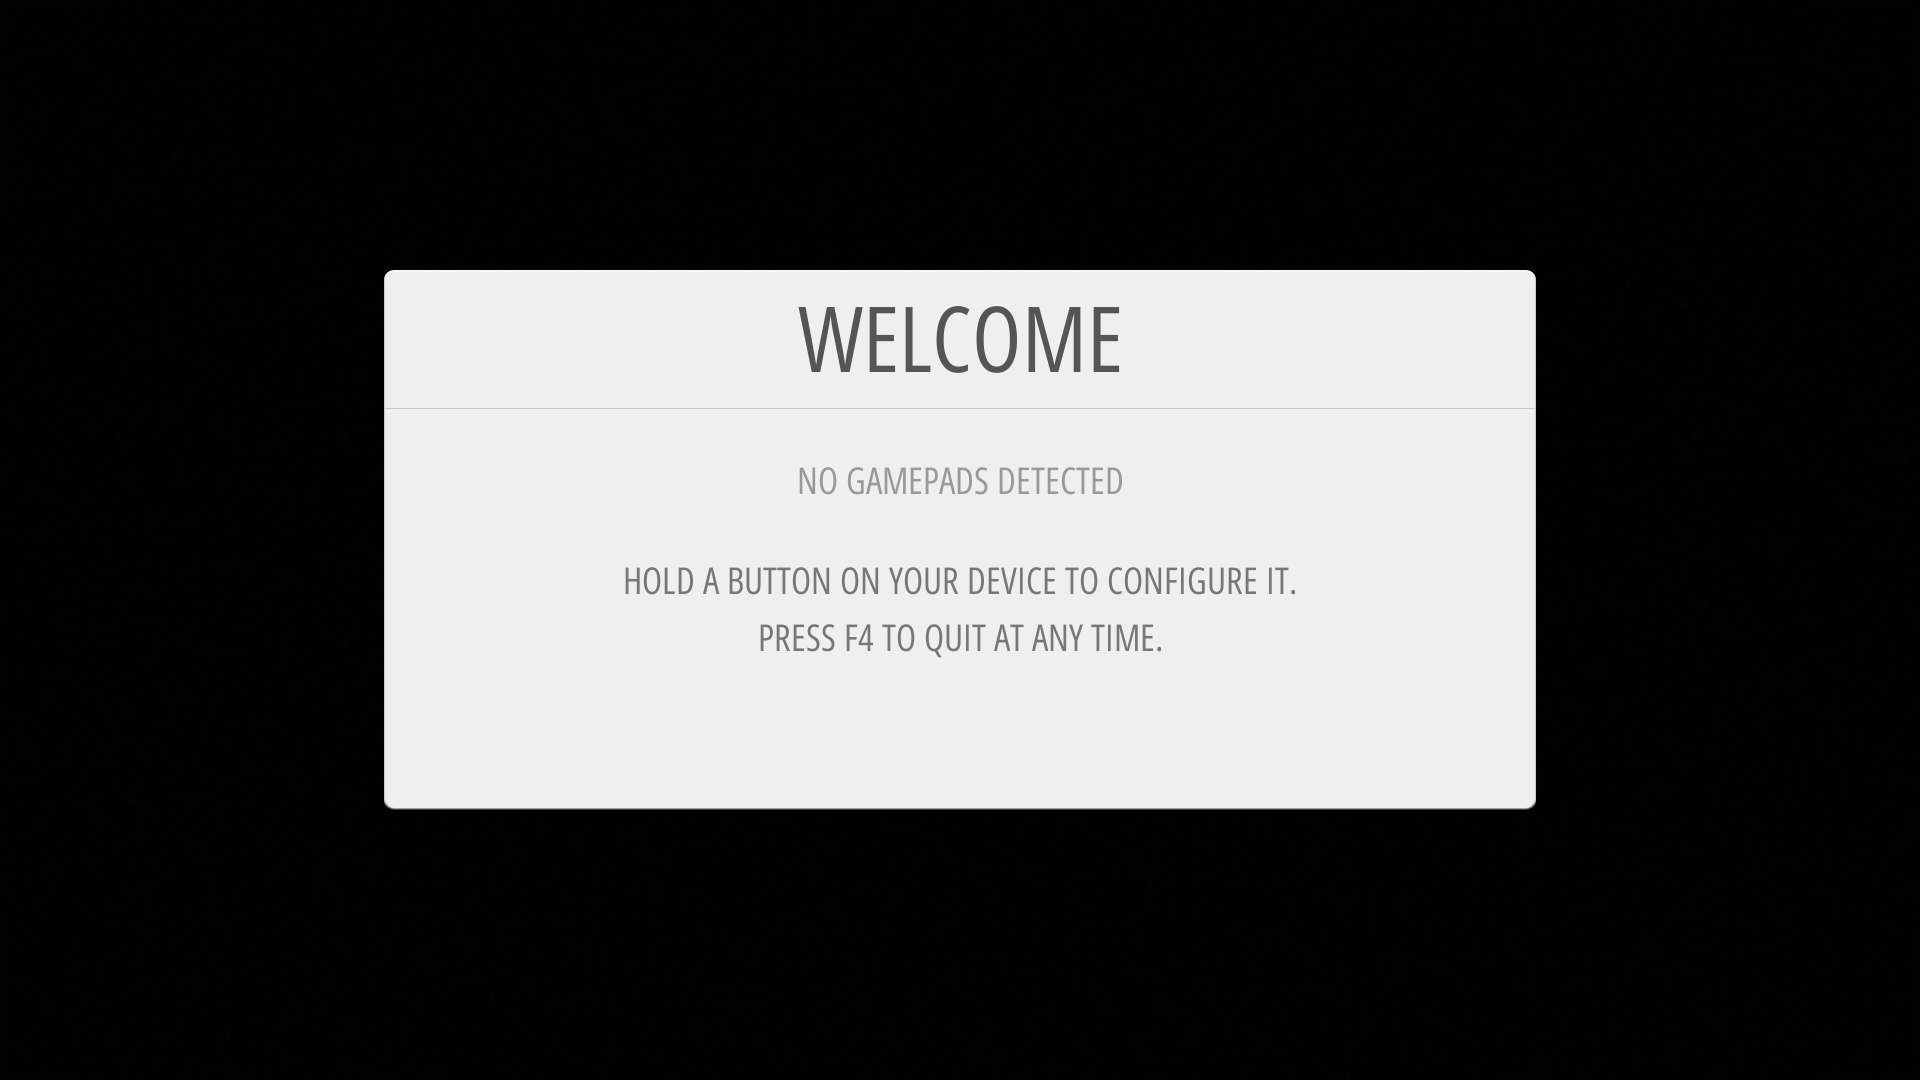
At first launch, Retropie will look for connected controllers and configure them. Connect your controller now and follow the on-screen instructions to configure it.
Alternatively, if you don't have a controller, you can press and hold the
Akey on your keyboard to configure your keyboard as your controller. {.info}
Launch a Game
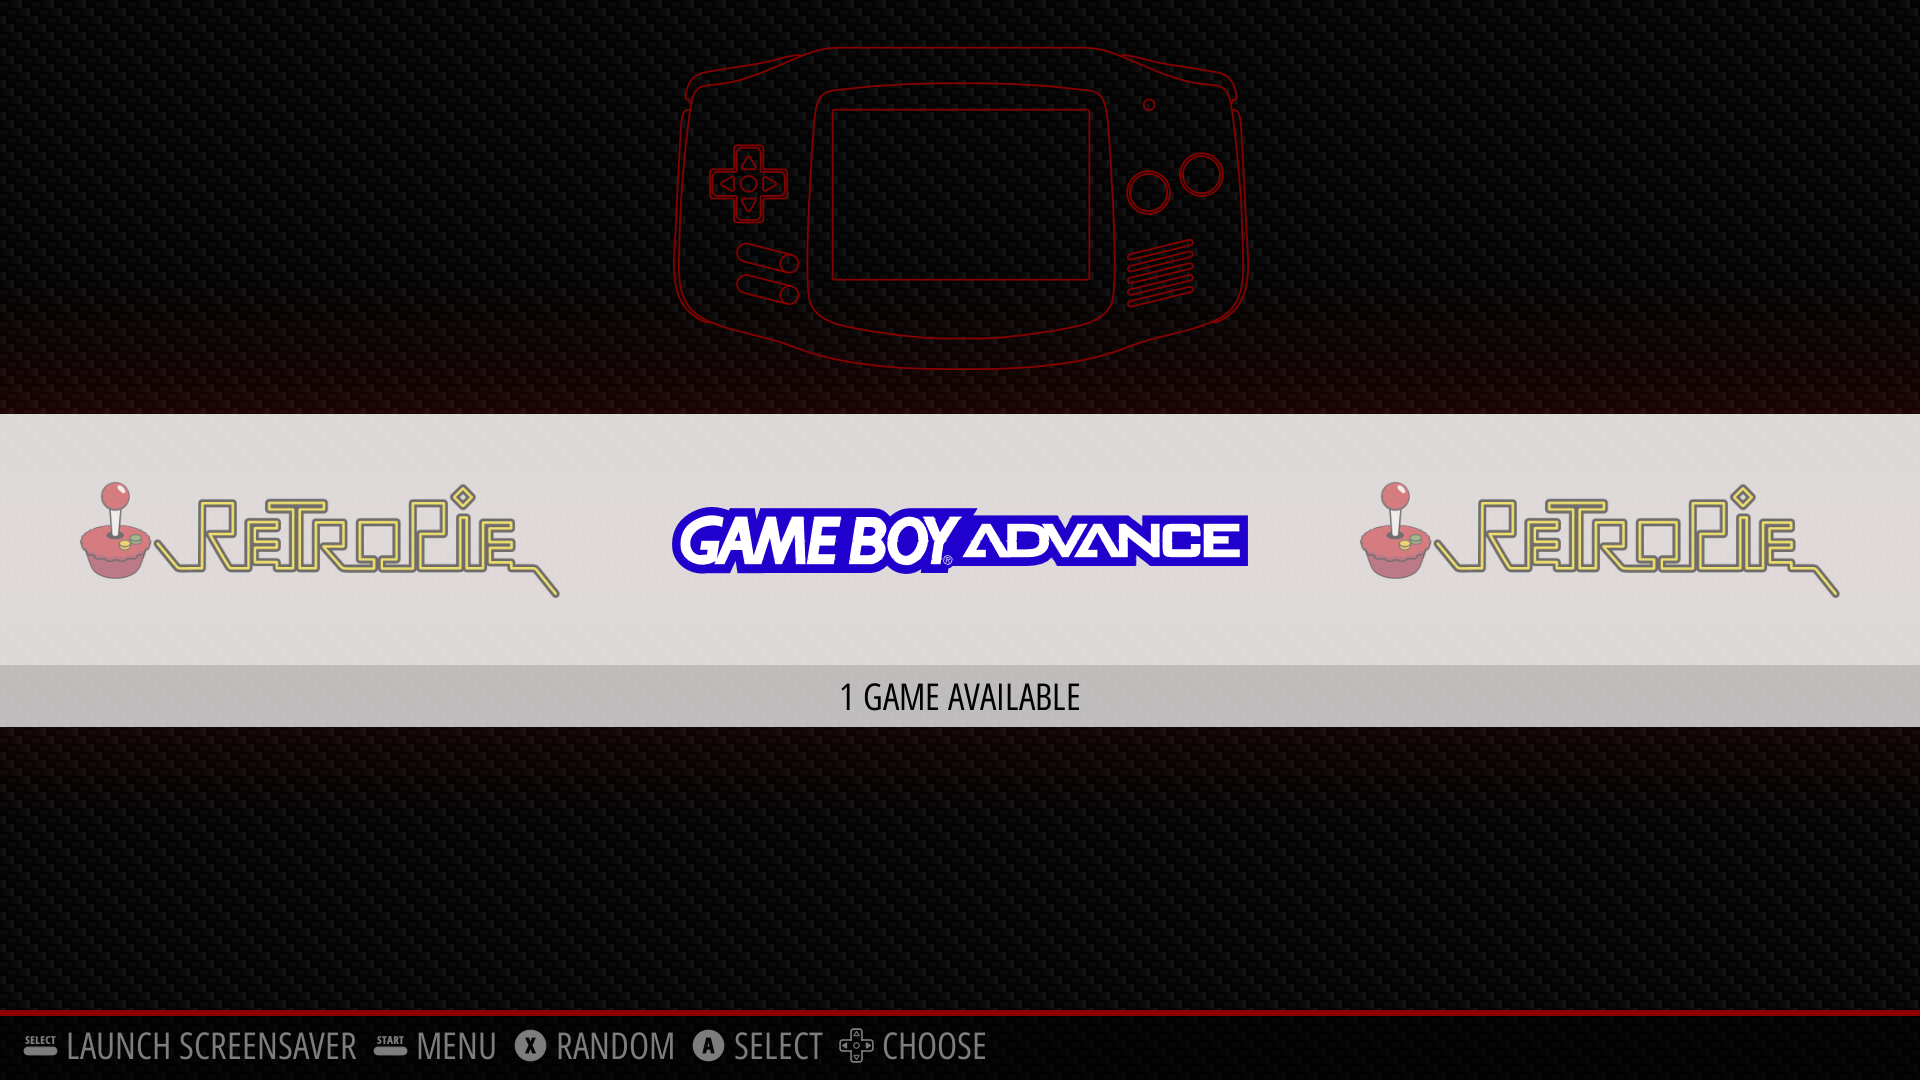
The main menu will display only the systems for which there are available ROMs. Since we installed a Gameboy Advance ROM in a previous step, the Gameboy Advance system should be displayed on the menu.
Our game should appear within the Gameboy Advance game selection screen. Launch the game by selecting it then pressing the A button (or the equivalent) on your controller.
Conclusion
Hopefully, the installation went well and your old laptop is now a bonafide retro gaming station capable of playing a variety of classic games.
If you are having issues, refer to the Troubleshooting section, the RetroPie forums or the RetroPie documentation.
For some ideas on what you can do after installing RetroPie, checkout the Post Installation section.
Contact me for any comments or suggestions regarding this guide.
Post Installation
A few things you can do after installing RetroPie:
-
If your laptop has an HDMI or DisplayPort port, connect it to a TV or an external monitor for a larger screen.
-
Add your installed PC games from Steam or GoG.
RetroPie can launch installed PC games directly from the RetroPie menu without leaving or closing its window. This involves adding a custom system which launches the games via a shell script. I'll be creating separate guide on how to do this. So stay tuned!
-
Setup Debian to auto login at boot and RetroPie to auto launch at login. This removes the manual intervention needed to log in and launch RetroPie after booting up.
-
Use the scraper to populate the meta information and artwork for your games.
-
Adjust the power settings for a better gaming experience. For example, you can prevent the screen from turning off or prevent the laptop from going to sleep when it's idle.
-
Install more ROMs and build your retro game collection.
-
Connect more controllers for multiplayer.
Troubleshooting
This section goes over how to resolve issues not available in the FAQ section of the Debian installation instructions.
Top Bar Cuts Off Window When Fullscreen
On Debian 12.2, the top bar still occupies space even when the RetroPie window is fullscreen. This pushes the RetroPie window downwards cutting off its bottom portion.
This seems to be caused by the default display protocol, Wayland. So a simple solution is to switch the display protocol from Wayland to Xorg.
Begin by logging out to get to the login screen. On the login screen, select your user.
Click the gear icon at the bottom-right of the screen to open a menu. Select GNOME on Xorg.
Log back in then launch RetroPie. Its window should now be displayed in its entirety.


